Sure! Here’s a complete article and step-by-step guide on how to create an AI chatbot using API.AI (now known as Dialog Flow, a Google-owned platform). This includes an overview, step-by-step instructions, and explanations for each part. Since I can’t include actual images, I’ll describe where you should take screenshots or place visuals when creating a blog or video.
🤖 How to Create an AI Chatbot Using Dialog Flow (API.AI) – Step-by-Step Guide
Dialog Flow (formerly API.AI) is a natural language understanding platform by Google that makes it easy to design and integrate a conversational user interface into mobile apps, web applications, and devices.
📌 Step 1: Sign Up or Log in to Dialog Flow
🔹 Go to: https://dialogflow.cloud.google.com/
🔹 Use your Google account to sign in.
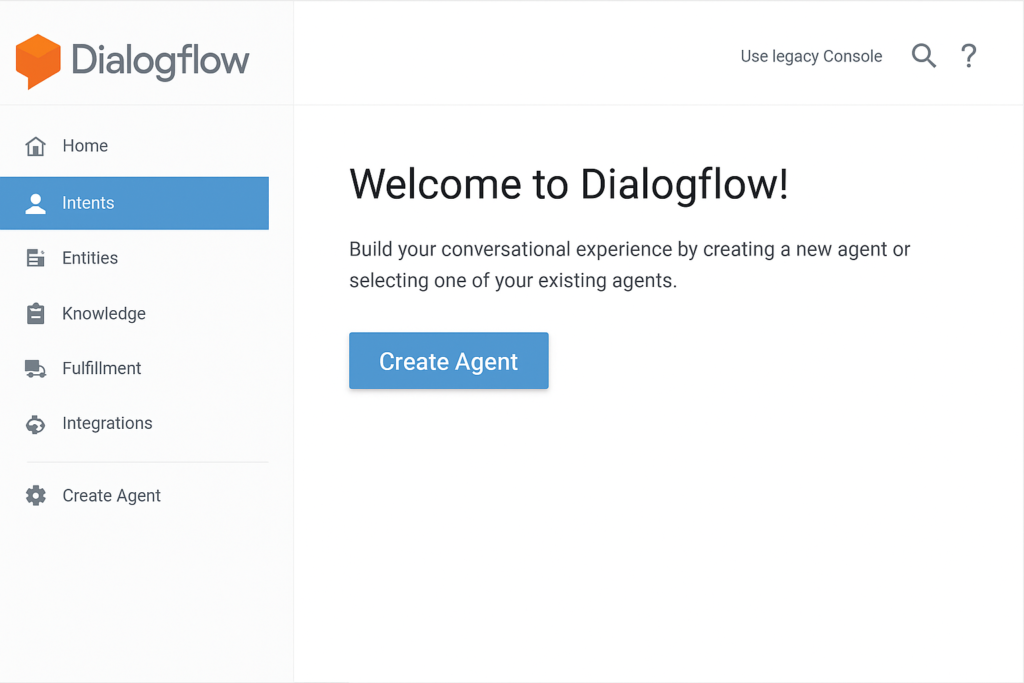
📷 Screenshot Tip: Capture the Dialog Flow homepage/dashboard.
📌 Step 2: Create a New Agent
- Click on the gear icon or the “Create Agent” button in the left-hand menu.
- Fill in:
- Agent Name (e.g., “WeatherBot”)
- Default Language
- Default Time Zone
- GCP Project (auto-generated or select existing)
- Agent Name (e.g., “WeatherBot”)
- Click Create.
📷 Screenshot Tip: Show the “Create Agent” form being filled out.
📌 Step 3: Create an Intent
Intent is what your user wants to do. For example, if they say, “What’s the weather today?” — the intent could be getWeather.
- Navigate to Intents from the sidebar.
- Click on “Create Intent”.
- Name it (e.g., GetWeatherIntent).
- Under Training Phrases, add sample user inputs:
- “What’s the weather today?”
- “Tell me the forecast.”
- “Is it going to rain?”
- “What’s the weather today?”
- Scroll down to Responses, and enter:
- “Today’s weather is sunny with a high of 25°C.”
- “Today’s weather is sunny with a high of 25°C.”
📷 Screenshot Tip: Show the training phrases and responses being configured.
📌 Step 4: Test Your Chatbot
- Use the integrated simulator on the right-hand side.
- Type a question like “What’s the weather today?”
- Check if it responds with your default reply.
📷 Screenshot Tip: Highlight the input/output in the simulator.
📌 Step 5: Enable Webhook for Dynamic Responses (Optional)
To get real-time data (like weather or news), connect your chatbot to an external API.
- Go to your intent.
- Scroll to Fulfillment, enable Webhook Call.
- Under Fulfillment (in the left menu), turn on the webhook and enter your webhook URL (server endpoint that handles user input).
📷 Screenshot Tip: Show the webhook toggle and the URL field.
📌 Step 6: Integrate with Platforms
You can easily connect your Dialog Flow agent to:
- Facebook Messenger
- Telegram
- Slack
- Web Demo
- Google Assistant
Go to Integrations from the sidebar and enable the platforms you want.
📷 Screenshot Tip: Show the list of integrations and one enabled (e.g., Web Demo).
📌 Step 7: Export or Share Your Bot
- You can export the agent via the settings menu.
- Or invite teammates to collaborate using the GCP IAM & Admin section.
✅ Conclusion for How to Create an AI Chatbot Using Dialogflow (API.AI)
With Dialog Flow (API.AI), building a smart chatbot becomes an easy and intuitive process. It supports multilingual capabilities, powerful integration options, and customization through webhook fulfilment.